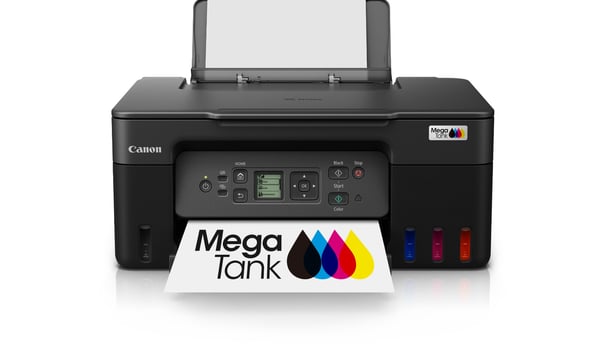
Wi-Fi connection methods for your Canon printer


The process of connecting your Canon printer to your Wi-Fi network differs depending on the specific model of your printer and the type of router you have.
Connecting your Canon printer to your Wi-Fi network can be done in a few ways, depending on your printer model and router. Here's a general guide, but always refer to your printer's manual for specific instructions:
Methods for Connecting a Canon Printer to Wi-Fi:
Cableless Setup: This is often the easiest method. Your printer will automatically search for your Wi-Fi network and connect.
Manual Connect: This method involves manually entering your Wi-Fi network name (SSID) and password (network key) on the printer's control panel.
WPS (Wi-Fi Protected Setup): If your router supports WPS, you can connect your printer by simply pressing the WPS button on both the printer and the router.
General Steps (Cableless Setup Example):
Prepare:
Make sure your printer is turned on.
Have your Wi-Fi network name (SSID) and password (network key) handy.
Ensure your computer or mobile device is connected to the same Wi-Fi network you want to connect your printer to.
Start the Setup on Your Printer:
Press the Setup button on your printer.
Use the arrow keys to navigate to Wireless LAN setup or a similar option.
Select Cableless setup or a similar option.
Install the Printer Software:
Visit the Canon website (canon.com/ijsetup) and download the appropriate drivers and software for your printer model and operating system.
Run the downloaded file and follow the on-screen instructions.
During the installation, you'll be prompted to select your printer and choose the wireless connection method.
Select Cableless setup and follow the instructions to connect your printer to your Wi-Fi network.
Connect via Wireless Router:
The software will guide you through the process of connecting your printer to your wireless router.
It may automatically detect your Wi-Fi network or you may need to select it from a list.
You'll be prompted to enter your Wi-Fi password (network key).
Complete the Setup:
Once the connection is established, the software will complete the installation process.
You may be prompted to perform a test print to ensure everything is working correctly.
Important Notes:
Refer to your printer's manual: The exact steps may vary slightly depending on your Canon printer model. Consult your printer's manual for detailed instructions.
Check your router: Make sure your Wi-Fi router is turned on and working properly.
Firewall settings: Temporarily disable any firewall software on your computer that might be blocking the connection.
Troubleshooting: If you encounter any issues, refer to the Canon support website or contact Canon customer support for assistance.
Tips for a Smooth Connection:
Place your printer close to your router: This will ensure a strong Wi-Fi signal.
Double-check your Wi-Fi password: Make sure you enter the correct password (network key) for your Wi-Fi network.
Update your printer's firmware: Canon may release firmware updates that improve wireless connectivity. Check the Canon website for updates.
By following these steps and referring to your printer's manual, you should be able to connect your Canon printer to your Wi-Fi network without any problems.
